
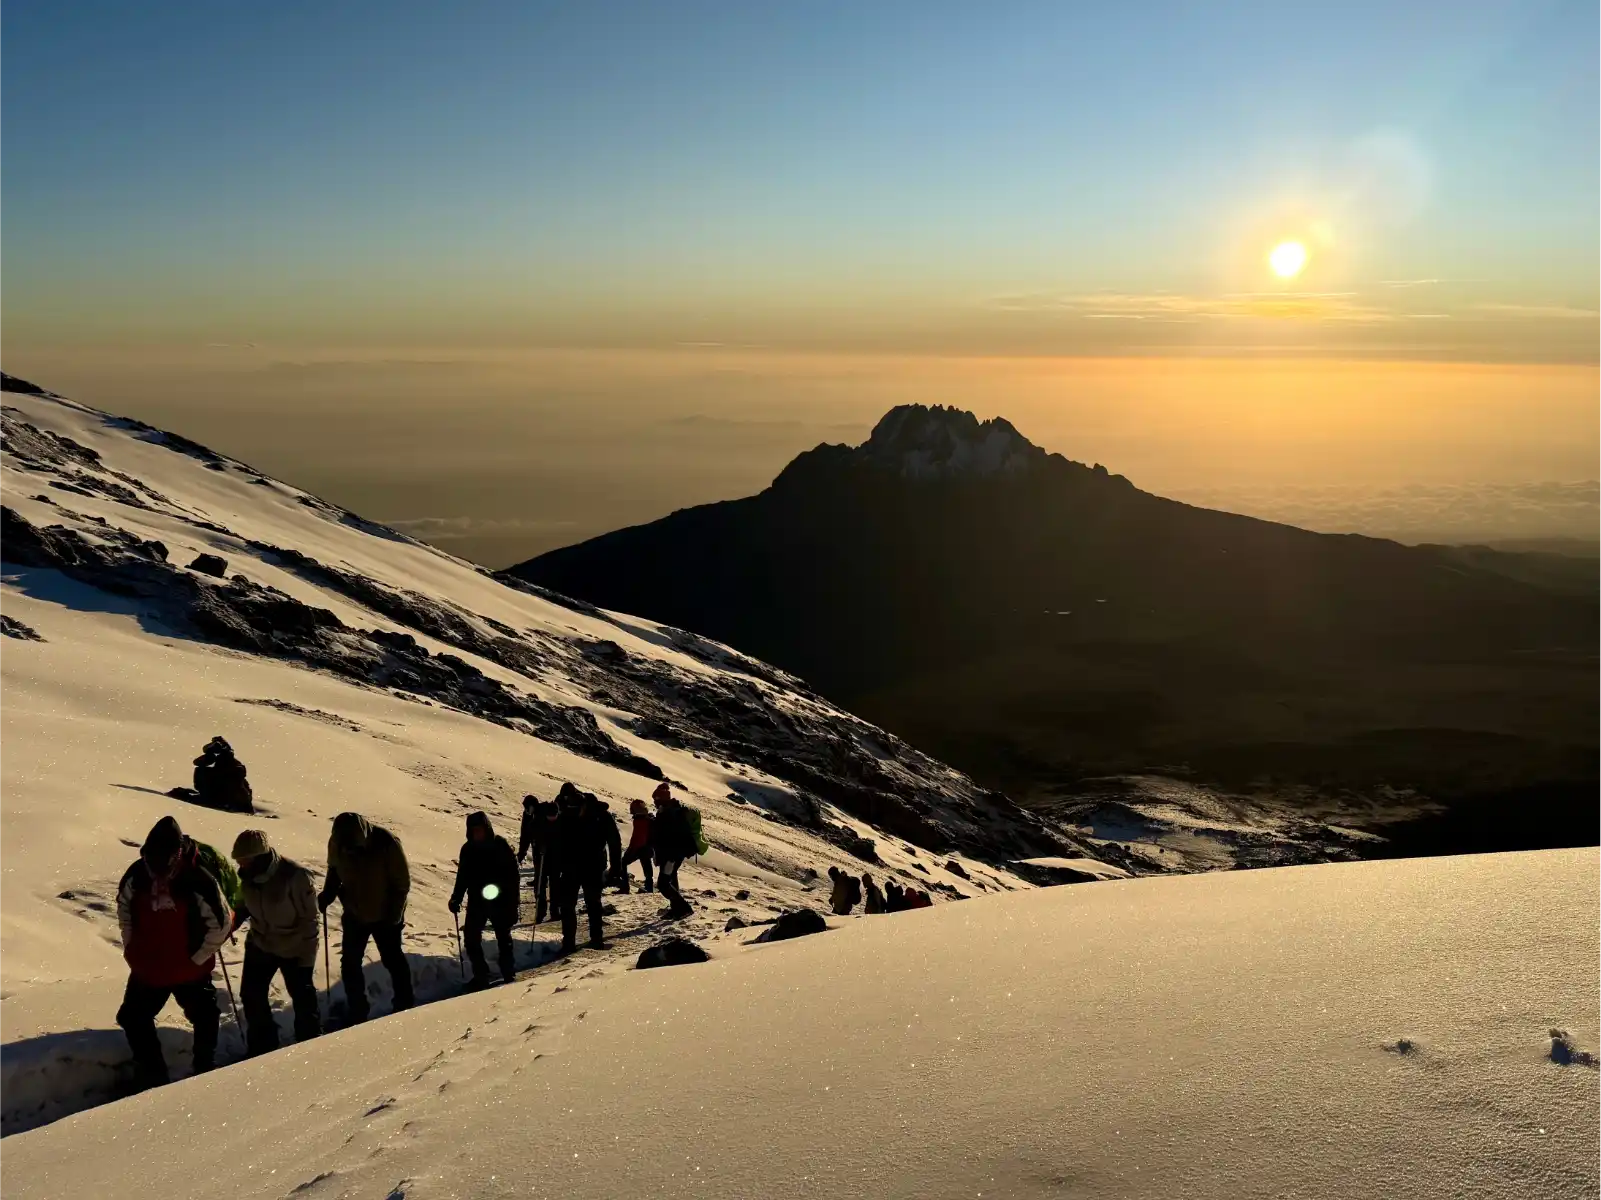
Kilimanjaro trekking is one of the most accessible high-altitude challenges in the world. No ropes. No technical climbing. No mountaineering experience required. Yet every year, thousands of climbers turn back before reaching Uhuru Peak — Africa’s highest point at 5,895 metres. The difference between reaching the summit and stopping short rarely comes down to willpower. It comes down to preparation.
This guide gives first-time trekkers a clear roadmap. Fitness requirements and training structure, how the main routes compare, what gear actually matters, and when to go. By the end, you will know exactly what needs to be in place before you book.
What Makes Kilimanjaro Different from Other Treks
Kilimanjaro is a walk-up, not a technical climb. However, it sits on the equator and rises from roughly 1,800 metres at the rainforest gate to 5,895 metres at Uhuru Peak. That elevation gain — across five distinct climate zones — is what catches most first-timers off guard. You start in dense tropical rainforest. Then heather moorland. Then alpine desert. Finally, the barren arctic summit zone where temperatures fall below -15°C and wind chill drives them lower still.
The terrain is not what defeats people. Altitude is. Because of lower atmospheric oxygen at elevation, kilimanjaro trekking demands more from your cardiovascular system than any comparable walk at sea level. The good news: with the right route and the right preparation, it is genuinely achievable for most healthy adults.
How Fit Do You Need to Be for Kilimanjaro Trekking?
You do not need to be an athlete. But you do need a genuine aerobic base. Expect five to eight hours of hiking per day on most routes. The summit push extends that to twelve or more hours in freezing temperatures. At altitude, your body receives 40 to 50 percent less oxygen per breath than at sea level, so the cardiovascular demand of every step is elevated throughout the entire trek.
Begin training at least three months before your departure date. Two to three months works if you are already reasonably active. Starting from a low base? Give yourself six months. Consistency across that window matters far more than any single hard session.
Build Your Aerobic Base
Cardio is the foundation of kilimanjaro trekking fitness. Running, cycling, swimming, and stair climbing all work well. Aim for four to five aerobic sessions per week, each lasting 40 to 60 minutes. Work at a sustained, moderate intensity — not a sprint. Gradually increase both duration and challenge over your training months. Ease off for the two weeks before your departure so your body enters the climb fully recovered.
Strength and Leg Work
Your quadriceps, hamstrings, and glutes carry the load across every ascent and descent. Add squats, reverse lunges, step-ups, and calf raises to your weekly routine. Two strength sessions per week alongside your cardio is a workable structure. A strong core also matters — it reduces fatigue and stabilizes your posture over uneven terrain across long trekking days.
Practice Hikes: Your Most Important Training Tool
Nothing prepares you for kilimanjaro trekking like time on the trail. From eight to twelve weeks before departure, schedule a three to six hour hike every fortnight. Do these on hilly ground with your full daypack loaded to roughly 5 to 6 kg. Train in the exact boots and gaiters you will wear on the mountain. This breaks in your footwear and reveals any blistering problems early — before they can derail your summit attempt.
Choosing Your Route: What the Data Shows
Route choice is the most consequential preparation decision you make. It determines your acclimatization schedule, your summit probability, your trail density, and your overall experience. The core principle is simple: more days on the mountain means a higher success rate. Altitude, not fitness, is the primary reason trekkers fail to summit. A fit trekker on a five-day route has a lower summit probability than a moderately fit trekker on an eight-day route. Choose accordingly.
Machame Route — The Whiskey Route
The Machame Route is the most popular path on Kilimanjaro and a strong starting point for first-time kilimanjaro trekking. It runs for six or seven days — always book the seven-day version. The critical difference is an acclimatization day at Lava Tower (4,640m) that then descends to Barranco Camp at 3,950m, applying the classic “climb high, sleep low” principle. That single day measurably improves how your body adapts to altitude. The seven-day Machame carries a summit success rate of approximately 85%. The six-day version drops that to around 70%. The route passes through striking and varied scenery and includes the Barranco Wall — a memorable hands-and-feet scramble on day five that does not require technical skill.
Learn more about our Kilimanjaro Machame Route trek package.
Lemosho Route — Best Acclimatization and Views
The Lemosho Route is widely regarded as the best overall route for first-time trekkers who can spend more days on the mountain. Over eight days, it approaches from the quiet western side, crossing the expansive Shira Plateau before joining the Machame path at Barranco Camp. The extended approach and lower daily altitude gains give your body the best acclimatization profile of any camping route. The eight-day Lemosho carries a summit success rate of around 90%. Trail density is noticeably lower than Machame, and the Shira Plateau section offers some of the most open, uninterrupted views on the entire mountain.
See the full details on our Kilimanjaro Lemosho Route trip page.
Marangu Route — The Coca-Cola Route
The Marangu Route is the oldest established path on Kilimanjaro and the only one with permanent mountain huts rather than tents. The shelter appeals to some trekkers. However, Marangu has the lowest summit success rate of the major routes — 50 to 65% on the five-day itinerary, improving to around 70 to 75% on the six-day version. The route ascends more continuously than alternatives, with less built-in descent recovery to assist acclimatization. If you choose Marangu, always book the six-day option. The five-day version simply does not give most first-time trekkers enough time to adapt.
Rongai and Northern Circuit Routes
The Rongai Route approaches from the north — the only route to do so — and takes six to seven days. It is the quietest of the main options and carries a summit success rate of around 75 to 80% on the seven-day itinerary. The Northern Circuit is the longest route at nine days, circumnavigating the northern slopes before the final summit push. Because of its duration and gradual elevation profile, the Northern Circuit has the highest success rate on the mountain — consistently above 95%. It costs more due to the added days and logistical complexity, but it is the closest thing to a reliable guarantee that Kilimanjaro offers.
Visit out Mount Kilimanjaro page for a detailed side-by-side route comparison.
Altitude and Acclimatization: What You Need to Know
Altitude is the defining challenge in kilimanjaro trekking. As you gain elevation, atmospheric pressure drops and each breath delivers less oxygen. Your body responds by producing more red blood cells over time — but that process takes days, not hours. Ascending faster than your body can adapt causes Acute Mountain Sickness, known as AMS.
Mild AMS includes headache, nausea, and fatigue. These symptoms are common above 3,000 metres and do not automatically require descent. Severe AMS — shortness of breath at rest, loss of coordination, or confusion — requires immediate descent and is a medical emergency. Your licensed guide monitors your condition throughout the trek. Any responsible operator uses pulse oximeters to track blood oxygen saturation at each camp.
Three things consistently improve acclimatization outcomes. First, choose a route with seven or more days. Second, apply the “climb high, sleep low” principle — Machame and Lemosho both build this in by design. Third, walk slowly. “Pole pole” — Swahili for “slowly, slowly” — is what every experienced guide repeats because it works. Drink three to four litres of water per day on the mountain. Dehydration worsens altitude symptoms and is entirely preventable. Some trekkers use Diamox (acetazolamide) as a prophylactic; speak to your doctor before the climb if you want to consider it.
Essential Gear for Kilimanjaro Trekking
Five climate zones in one trek means packing for everything from tropical humidity to arctic cold. Right gear does not guarantee the summit. However, wrong gear — thin gloves, unbroken-in boots, a sleeping bag rated only to 0°C — can end a kilimanjaro trekking attempt before altitude does. The objective is simple: stay comfortable in conditions that will range from warm and humid at the gate to well below freezing at the crater rim.
The Layering System
A three-layer clothing system covers all conditions on the mountain. Your base layer sits against the skin and wicks moisture — merino wool and quality synthetic fabrics both perform well. Your mid layer provides insulation — a fleece jacket or a lightweight down piece. Your outer shell is waterproof and windproof; Gore-Tex or an equivalent breathable fabric is the accepted standard. For the summit push, add a heavy insulated down jacket over all three. Temperatures at Uhuru Peak can reach -15°C, with wind chill well below -20°C. Gloves should be liner gloves inside insulated mittens for the final night. Also pack thermal base layer bottoms, fleece or softshell trousers, waterproof overtrousers, a warm beanie, a balaclava, and a wide-brimmed sun hat for the lower warm zones.
Boots, Poles, and Your Sleeping System
Your hiking boots are the single most important item in your pack. They need to be waterproof, ankle-supporting, and fully broken in before day one of your trek. New boots will cause blisters within hours. Start wearing your summit boots on training hikes at least three months before departure. Trekking poles significantly reduce the load on your knees and improve stability on scree and steep rocky descents. Most operators offer poles for hire if you do not own a pair.
Your sleeping bag should be rated to at least -10°C for comfort. Wind chill at the higher camps means the effective temperature is regularly colder than the recorded air temperature. Your main luggage travels in a soft-sided duffel that your porter carries — operators cap this at 15 to 20 kg. Rigid suitcases cannot be carried on a porter’s head and are not permitted. Your personal daypack of 10 to 15 litres goes with you every day.
What Goes in Your Daypack for Kilimanjaro Trekking
Each day on the mountain, your daypack should carry: at least two litres of water in an insulated bottle (hydration bladder tubes freeze above 4,000 metres), trail snacks and energy bars, a headlamp with spare batteries, your waterproof jacket and overtrousers, warm hat and gloves, sunscreen rated SPF 50 or higher, and sunglasses with full UV protection. On summit night, pack everything you need for twelve-plus hours in cold and darkness before you leave camp at midnight. You will not return to your tent until mid-morning the following day.
When to Climb: Seasons and Weather Windows
Tanzania sits just south of the equator, so Kilimanjaro does not follow conventional northern hemisphere seasons. Instead, the mountain has two dry seasons and two wet seasons. The best months for kilimanjaro trekking are January, February, July, August, September, and October.
January and February offer warm, stable conditions and lighter crowds than the peak mid-year window. July through October is the most popular climbing period — dry, reliable, and busy. Trails, particularly Machame, are at their most crowded in August and September. The rainy seasons to avoid for a first climb are April and May, when heavy rain makes lower trails muddy and slippery, and November, when shorter rains reduce summit visibility. Kilimanjaro is open year-round, but first-time trekkers consistently have better experiences within the dry season windows.
Summit temperatures range from around -7°C in the warmer months to -29°C in the coldest conditions recorded in July and August. Wind chill at the summit adds to the severity regardless of season. Pack as if conditions will be at their worst — on summit night, they often are.
Park Fees and Budget: What to Expect
Kilimanjaro National Park fees are set by TANAPA (Tanzania National Parks Authority) and collected through your licensed operator. All kilimanjaro trekking requires a licensed guide — independent climbing is not permitted on the mountain.
The core park entry fee is USD 70 per person per day. Camping fees add approximately USD 50 per night. A crater zone fee applies above 5,000 metres, and a mandatory rescue fee is charged for all climbers. An 18% VAT is added on top of all fees. A six-day climb accumulates roughly USD 950 to USD 1,100 in park fees alone — before any operator margin. Total climb costs in 2026 range from approximately USD 1,800 to USD 2,500 for budget Marangu packages through to USD 3,500 to USD 5,000 for reputable operators running Lemosho or Northern Circuit routes. The price gap between budget and quality operators reflects route duration, guide-to-trekker ratios, and equipment standards — all of which directly affect your summit probability. Budget carefully: this is a once-in-a-lifetime climb, and the investment is worth making correctly.
For current TANAPA tariff information, visit the Tanzania National Parks official website.
Getting to the Mountain
The most convenient arrival point is Kilimanjaro International Airport (JRO), located approximately 50 kilometres from Moshi — the main staging town for most routes. Major carriers serving JRO include Ethiopian Airlines, Turkish Airlines, Qatar Airways, and KLM, with connections available from Nairobi, Addis Ababa, Doha, Istanbul, and Amsterdam. Operators arrange road transfers from Moshi or Arusha to the route gate. Allow at least one full day in Moshi before your trek begins to recover from travel and complete a pre-climb gear check with your guide team.
Tanzania requires a visa for most nationalities. The standard single-entry eVisa costs USD 50 for most passports, rising to USD 100 for US and Irish nationals. Apply through the Tanzania Immigration Services Department portal before you travel. Processing typically takes three to five business days.
Plan Your Kilimanjaro Trekking Trip with TripGenius Travel
TripGenius Travel arranges guided kilimanjaro trekking packages across all major routes — Machame, Lemosho, Rongai, and the Northern Circuit. Every package covers licensed guides, all TANAPA park fees, full-board meals on the mountain, camping equipment, and pre-departure planning support. We handle the logistics so you can focus on your preparation.
Kilimanjaro pairs naturally with a Tanzania wildlife extension. Many climbers finish the mountain and head directly to the Serengeti National Park for a game drive, or to Ngorongoro Crater, where one of Africa’s densest concentrations of large mammals lives within a single volcanic caldera. We connect both legs into one itinerary with no gaps in transport or planning.
Get in touch to discuss your route, your preparation timeline, and the best window for your schedule.
Final Word
Kilimanjaro is a genuine challenge — and a genuinely achievable one. The mountain rewards preparation far more than it rewards raw fitness. Trekkers who turn back are usually those who underestimated altitude by booking too short a route. Those who summit, and enjoy it, are those who chose seven or eight days, built a cardio base over months, and walked slowly when it mattered.
Choose the right route. Train consistently. Pack for cold. Then trust the process — the view from Uhuru Peak, with the curve of the Earth visible and Africa spread out below you, is worth every training session that brought you there.